Saturday, April 30, 2011

fabulous florets

Have you checked out the Fabulous Florets set yet
from the new Summer Mini catalog?


It coordinates with the Beyond the Garden paper!

Beautiful!

Supplies:
Stamps: Fabulous Florets, Terrific Tags
Ink: Melon Mambo, Old Olive, Pacific Point, Tangerine Tango
Paper: Beyond the Garden DSP, Melon Mambo, Pacific Point, Whisper White
Misc: Tag Punch, Micro Punch, Linen Thread, Dimensionals, Basic Pearls

The new Summer Mini starts tomorrow!

I'm so sad to see the Occasions Mini leave... it's been my favorite!
You STILL have time to order, but after today it's gone!
Don't miss out!

Order ANYTIME on my website!


You can also start ordering goodies from the Summer Mini tomorrow!


Friday, April 29, 2011

and then there were 4

Well, all 4 of the babies have hatched!!!

Check out mamma!


And here are all 4 of the babies...


The picture below just melts my heart!


I'm headed to my stamp room... so I'll post some goodies shortly!

Until then...

Wednesday, April 27, 2011

another "friends fur-ever"

I got a free few minutes to make a card.


This set has such clean and simple lines, it's really great to color.

In this card I watercolored using watercolor pencils and an Aqua Painter.

Supplies:
Ink: Stazon
Paper: watercolor paper, Pear Pizzazz CS, Bashful Blue CS, Crumb Cake CS
Ribbon: Crumb Cake seam binding ribbon
Embossing: Perfect Polka Dots embossing folder, Big Shot machine
Misc: watercolor pencils, Aqua Painter, dimensionals

Only a few days left to order from the Occasions Mini catalog!!!

Tuesday, April 26, 2011

1, 2, 3 little birdies

Sorry, this isn't a crafting post!

Yesterday I posted about the bird nest on our bedroom window sill.


I finally got the mamma robin to pose for a picture!


There were four eggs yesterday and then one hatched.
Robert checked on them this morning and two more had hatched!
We're still waiting for one more!


I know, I'm obsessed!

These little birds are consuming me...

But they're so cute!!!

urban garden via my digital studio


I just downloaded the Urban Garden MDS paper...

It's soooo pretty!

I love the modern color combination!

My Digital Studio makes it so easy to "whip up" a card...
or a scrapbook page...
or anything made out of paper!

You can order it from my Stampin' Up! online store!

Monday, April 25, 2011

our new neighbors

We discovered a bird's nest outside of our bedroom window!

(and making a mess out of our window sill!)


I took pictures of the nest and made an MDS scrapbook page!


How could you not love My Digital Studio?!

Now is a great time to order it.  You can get the downloads from the 
fabulous "Occasions Mini" and be able to enjoy all of its splendor long
after it's gone!  (It's ending April 30th)

Please visit my Stampin' Up! store to order MDS!


BIRDIE UPDATE!!! (8:34 pm)

About an hour after I made the MDS scrapbook page, an egg hatched!!!


Sorry for the quality of the pictures...

It was difficult to take them through the window screen 
and it's getting dark outside.
(I didn't want to use the flash for obvious reasons!)

It's fascinating to watch the whole process...


Friday, April 22, 2011

summer lovin'... triple layer punches

I love it when we don't have school... I get time to play!

The new Summer Mini catalog will offer some AWESOME new punches!

Doily Triple Layer Punch

and

Blossom Bouquet Triple Layer Punch

They're different than the regular punches because you can
punch out three different layering images!

I toyed around with the Blossom Bouquet punch this morning.


And made this... 


Did you know that you can use the "leftover" foam blocks
from the Clear Block Caddy as stamps?

Me neither!  

But I decided to give it a try!


I started gluing on outer punched pieces.


Then I "sandwiched" the flowers using dimensionals.


And attached those to the card.


I added a sentiment from the Tiny Tags stamp set
and some rhinestones to the middle of the flowers.


And, of course, I had to decorate the inside to match!


Can't you just see all the great uses for these punches?

They can be yours May 1st!!!


so you think you're a "big shot"?!

About a month or so ago I moved my craft room out of our 
basement and into our study.  Here is the old room (click here).

I'll post pictures of my new room very soon,
but I wanted to show you one little space...


This is where my Big Shot lives.


My in-laws gave me this old record stand.
It's great to hold my Big Shot, embossing folders, and dies.

Thanks Bob and Betty!

Now on to the reason for this post...

DO YOU WANT A BIG SHOT, TOO?

Do you live in or near Cincinnati?

Do you want to make cute projects?

Do you want to meet new people who love being crafty?


My mom and I are gearing up for a 

Big Shot Mystery Hostess Club

Would you like to join us?

It's like getting to order goodies, take advantage of hostess
benefits, AND putting your Big Shot in lay-a-way!

Here's how it works:

6 people participate per club.

You attend 1 workshop each month for 6 months.

The cost is $45.00 each month.
$20.00 of that will go toward your Big Shot lay-a-way.
$25.00 is the minimum you must spend at each workshop on SU! goodies.

Each month 1 person will be the hostess and they get the benefits.

At the end of the 6 months, you will receive your very own

BIG SHOT!!!

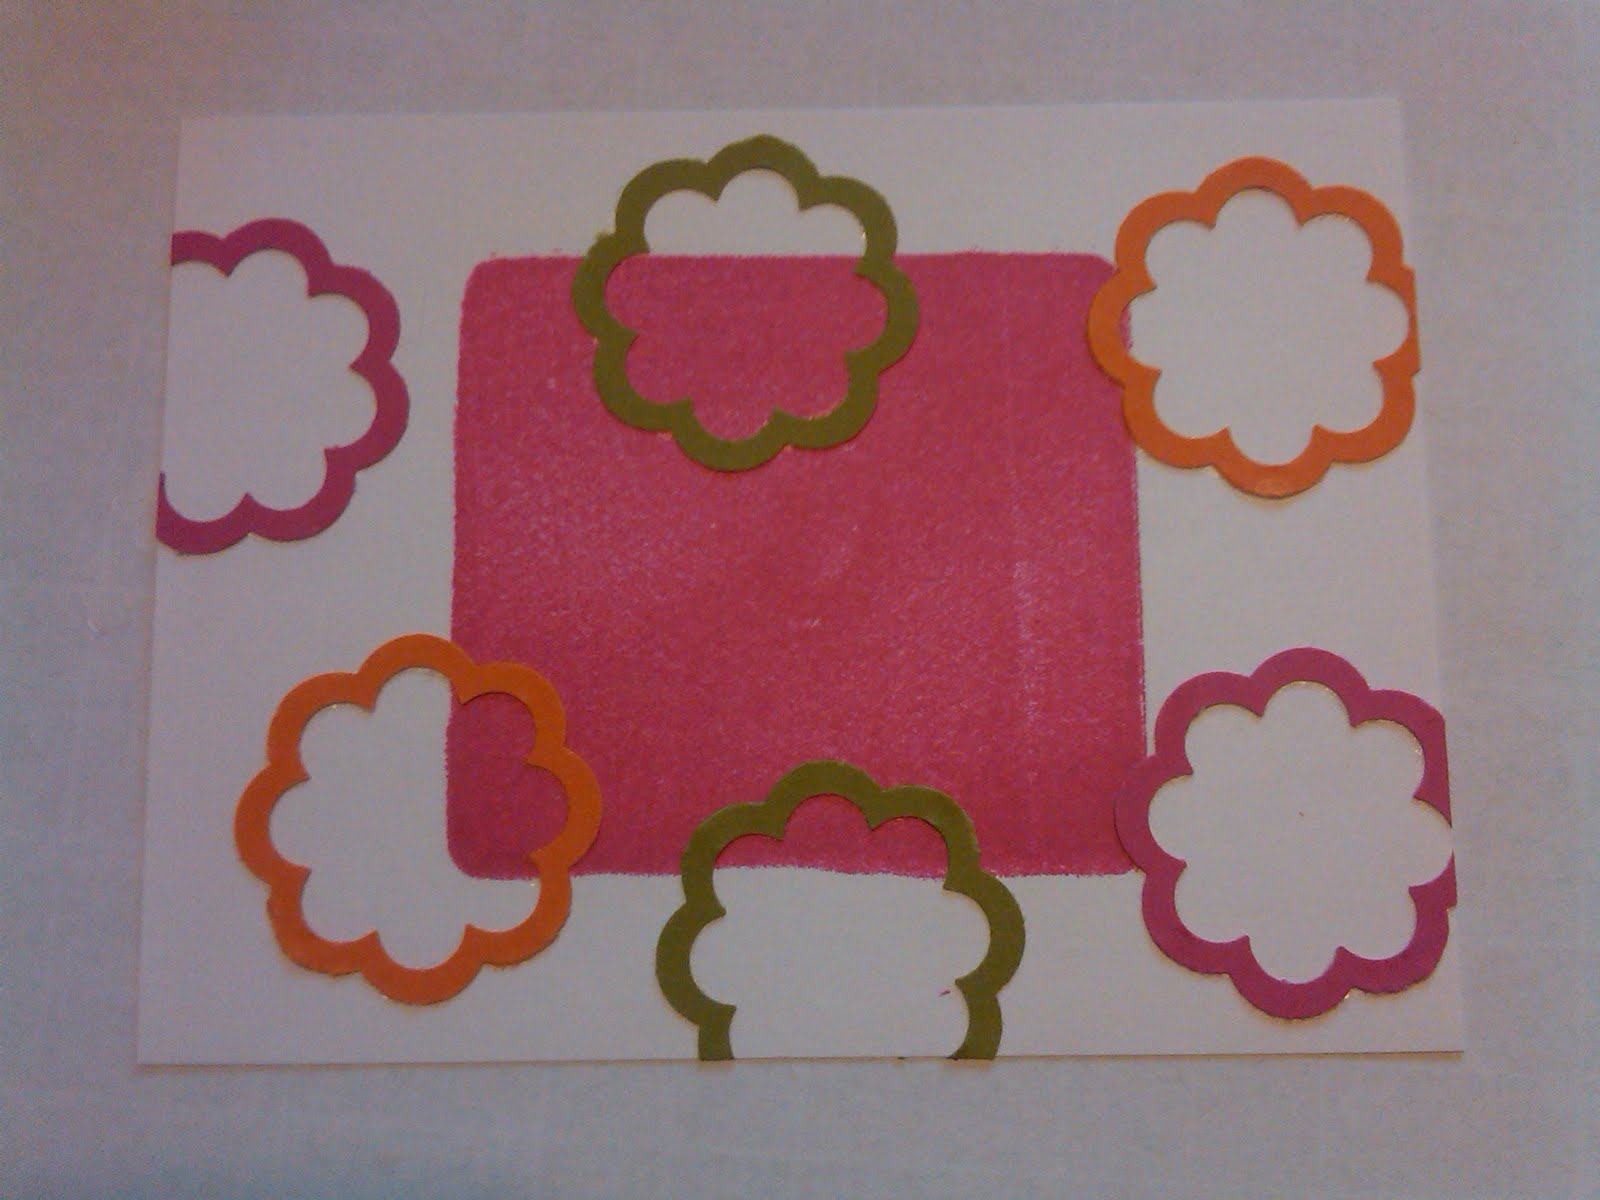
We will make all projects using the Big Shot at the workshops.

The first workshop will begin in May.
(you will receive your Big Shot just in time to make things for the holidays!)

All workshops will be held in my home in my stamping studio.
(So you don't have to worry about making a mess in your own home!)

Can I count you in???


By the way...

People often ask, 
"Why should I buy a Big Shot when I already have a Cuttlebug?"

Answer:
YOU CAN'T USE THE LARGER BIGZ DIES IN THE CUTTLEBUG!

Come join us!  We guarantee a great time!!!

Did I mention there will be snacks???


Wednesday, April 20, 2011

masking friends fur-ever

I got a new stamp set today...

Friends Fur-Ever

LOVE!

I did the masking technique and made a few simple cards.

To mask, do the following...


Stamp an image onto your paper and also a Post-It.
(I had already stamped the balloons using the masking technique).


Cut out the image from the Post-It and place it over 
the image (this keeps it "clean").


Stamp your other images where you'd like them to be placed.
You don't have to worry about stamping the Post-It because
it will be removed.  In this case I was adding the balloon 
strings and wanted the dog to look like he was sitting on them.


This is what the mask looks like after stamping...


Remove the Post-It and you're ready to color!


I love to color!

It reminds me of coloring with my grandmother when I was little.
I used the SU! Watercolor Pencils and Aquapainter.
These tools make coloring so easy!


Corner-round 2 edges with the SU! punch and...

A simple and cute card!


Here I masked the bones in the cart.


I probably should have added more bones,
but you get the idea...


And, color again!


In this card I masked the picture frame to get the
dog's head to fit inside.


I am LOVING this set!

There is just so much potential with it and perfect
for dog lovers!!!

Would you like to know how to get this set?